
How do I fit new brake pads to my own car at home?

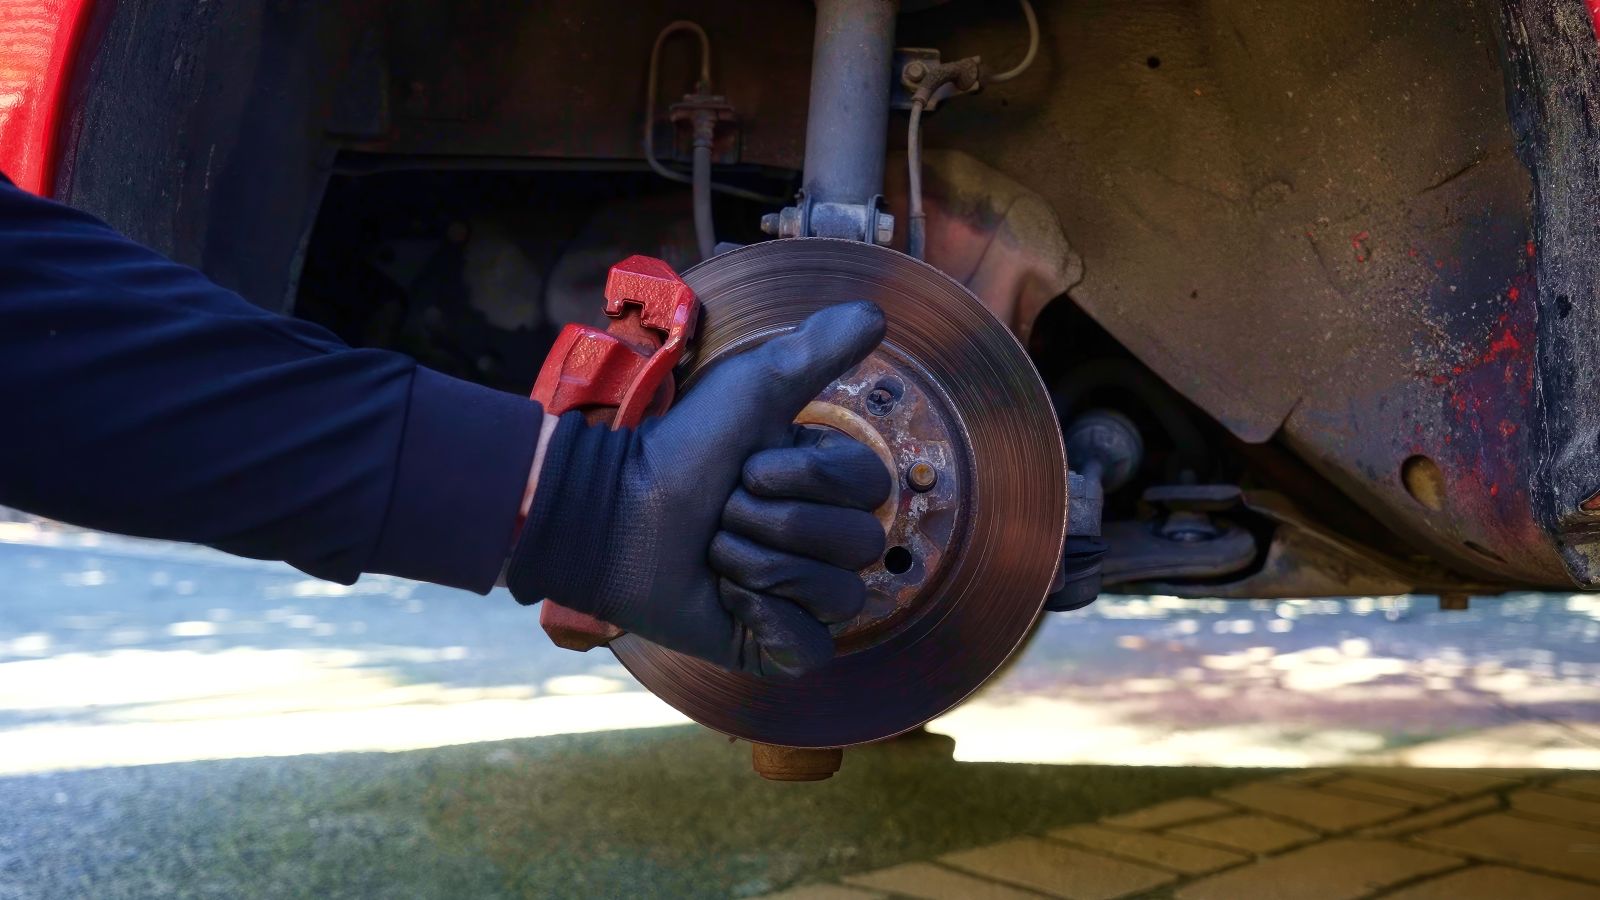
Tackling your own car maintenance can feel a little intimidating, but changing your brake pads is actually one of the most straightforward DIY projects you can take on. Plus, doing it yourself saves you a trip to the shop and gives you major bragging rights.
Here is a light-hearted, step-by-step guide to getting the job done safely and easily.
What You’ll Need
Before you get started, gather your gear:
-
A reliable car jack and jack stands
-
Wheel chocks
-
A ratchet set
-
A brake depressor (or a trusty old pad and some muscle)
-
A bit of brake lubricant and cleaner
-
Pro tip: Wear gloves! Your hands will thank you when it comes time to clean up later.
Step 1: Prep and Safety First
-
Secure the car: Engage your emergency brake (whether it’s a foot pedal or a hand lever) so the car isn't going anywhere.
-
Chock the wheels: Slide your wheel chocks into place. Safety first—we want zero surprise rollaways.
-
Crack the nuts: With the car still firmly on the ground, loosen the wheel nuts just a bit. It’s much easier to break them loose while the tires have friction against the pavement.
-
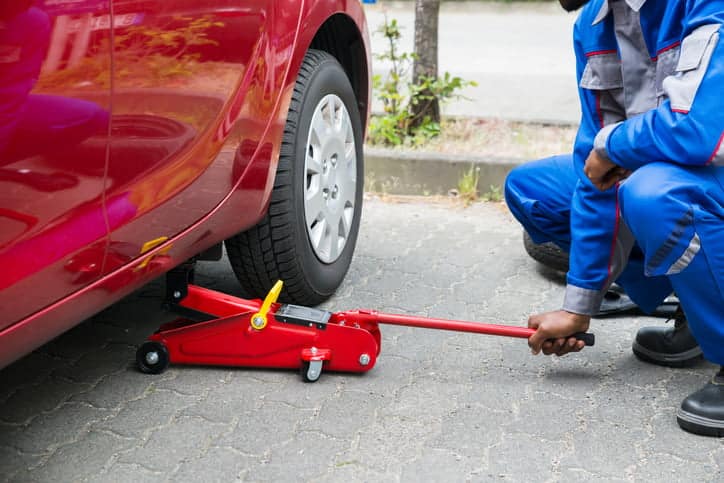
Lift and secure: Place your jack, lift the vehicle, and securely position your jack stands underneath. Never rely solely on a hydraulic jack to hold a car up while you work. Lower the car gently onto the stands.
Step 2: Off With the Wheel
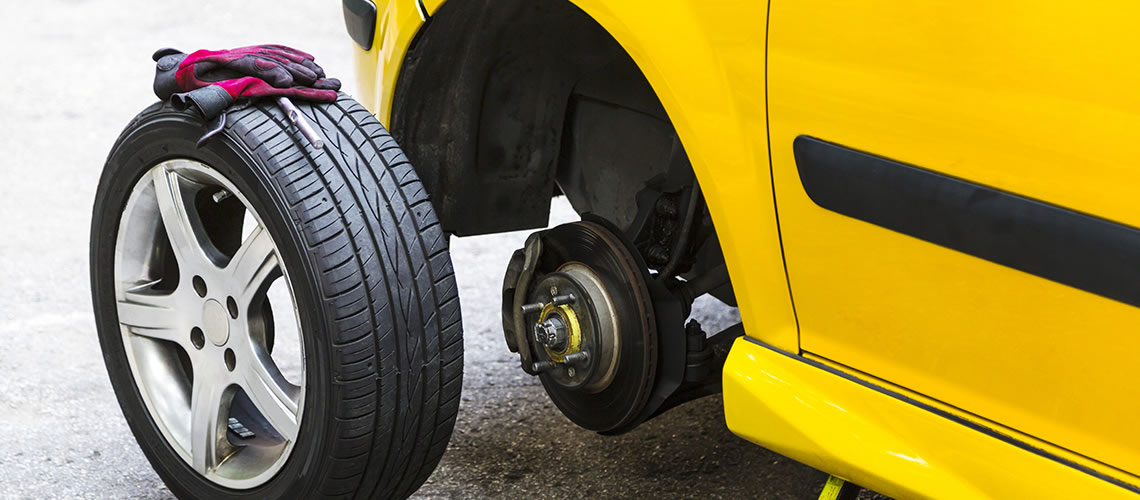
Finish removing the wheel nuts completely, take the wheel off, and slide it underneath the vehicle frame as an extra safety cushion. If the car decides to take an impromptu tumble, the wheel will catch it.
Take a quick peek through the slots with a flashlight to check out your current brake wear. Even if you still have some life left on them, you're already here—so let's keep going.
Step 3: Freeing the Caliper
-
Locate the two bolts holding the brake caliper in place (one on top, one on the bottom).
-
Loosen and remove them. If they are feeling stubborn, a little penetrating spray and a few minutes of patience will work wonders.
-
Slide the caliper off. Crucial rule: Do not let the caliper dangle by its flexible brake line! Use a piece of rope or a zip tie to safely hang it up out of the way.
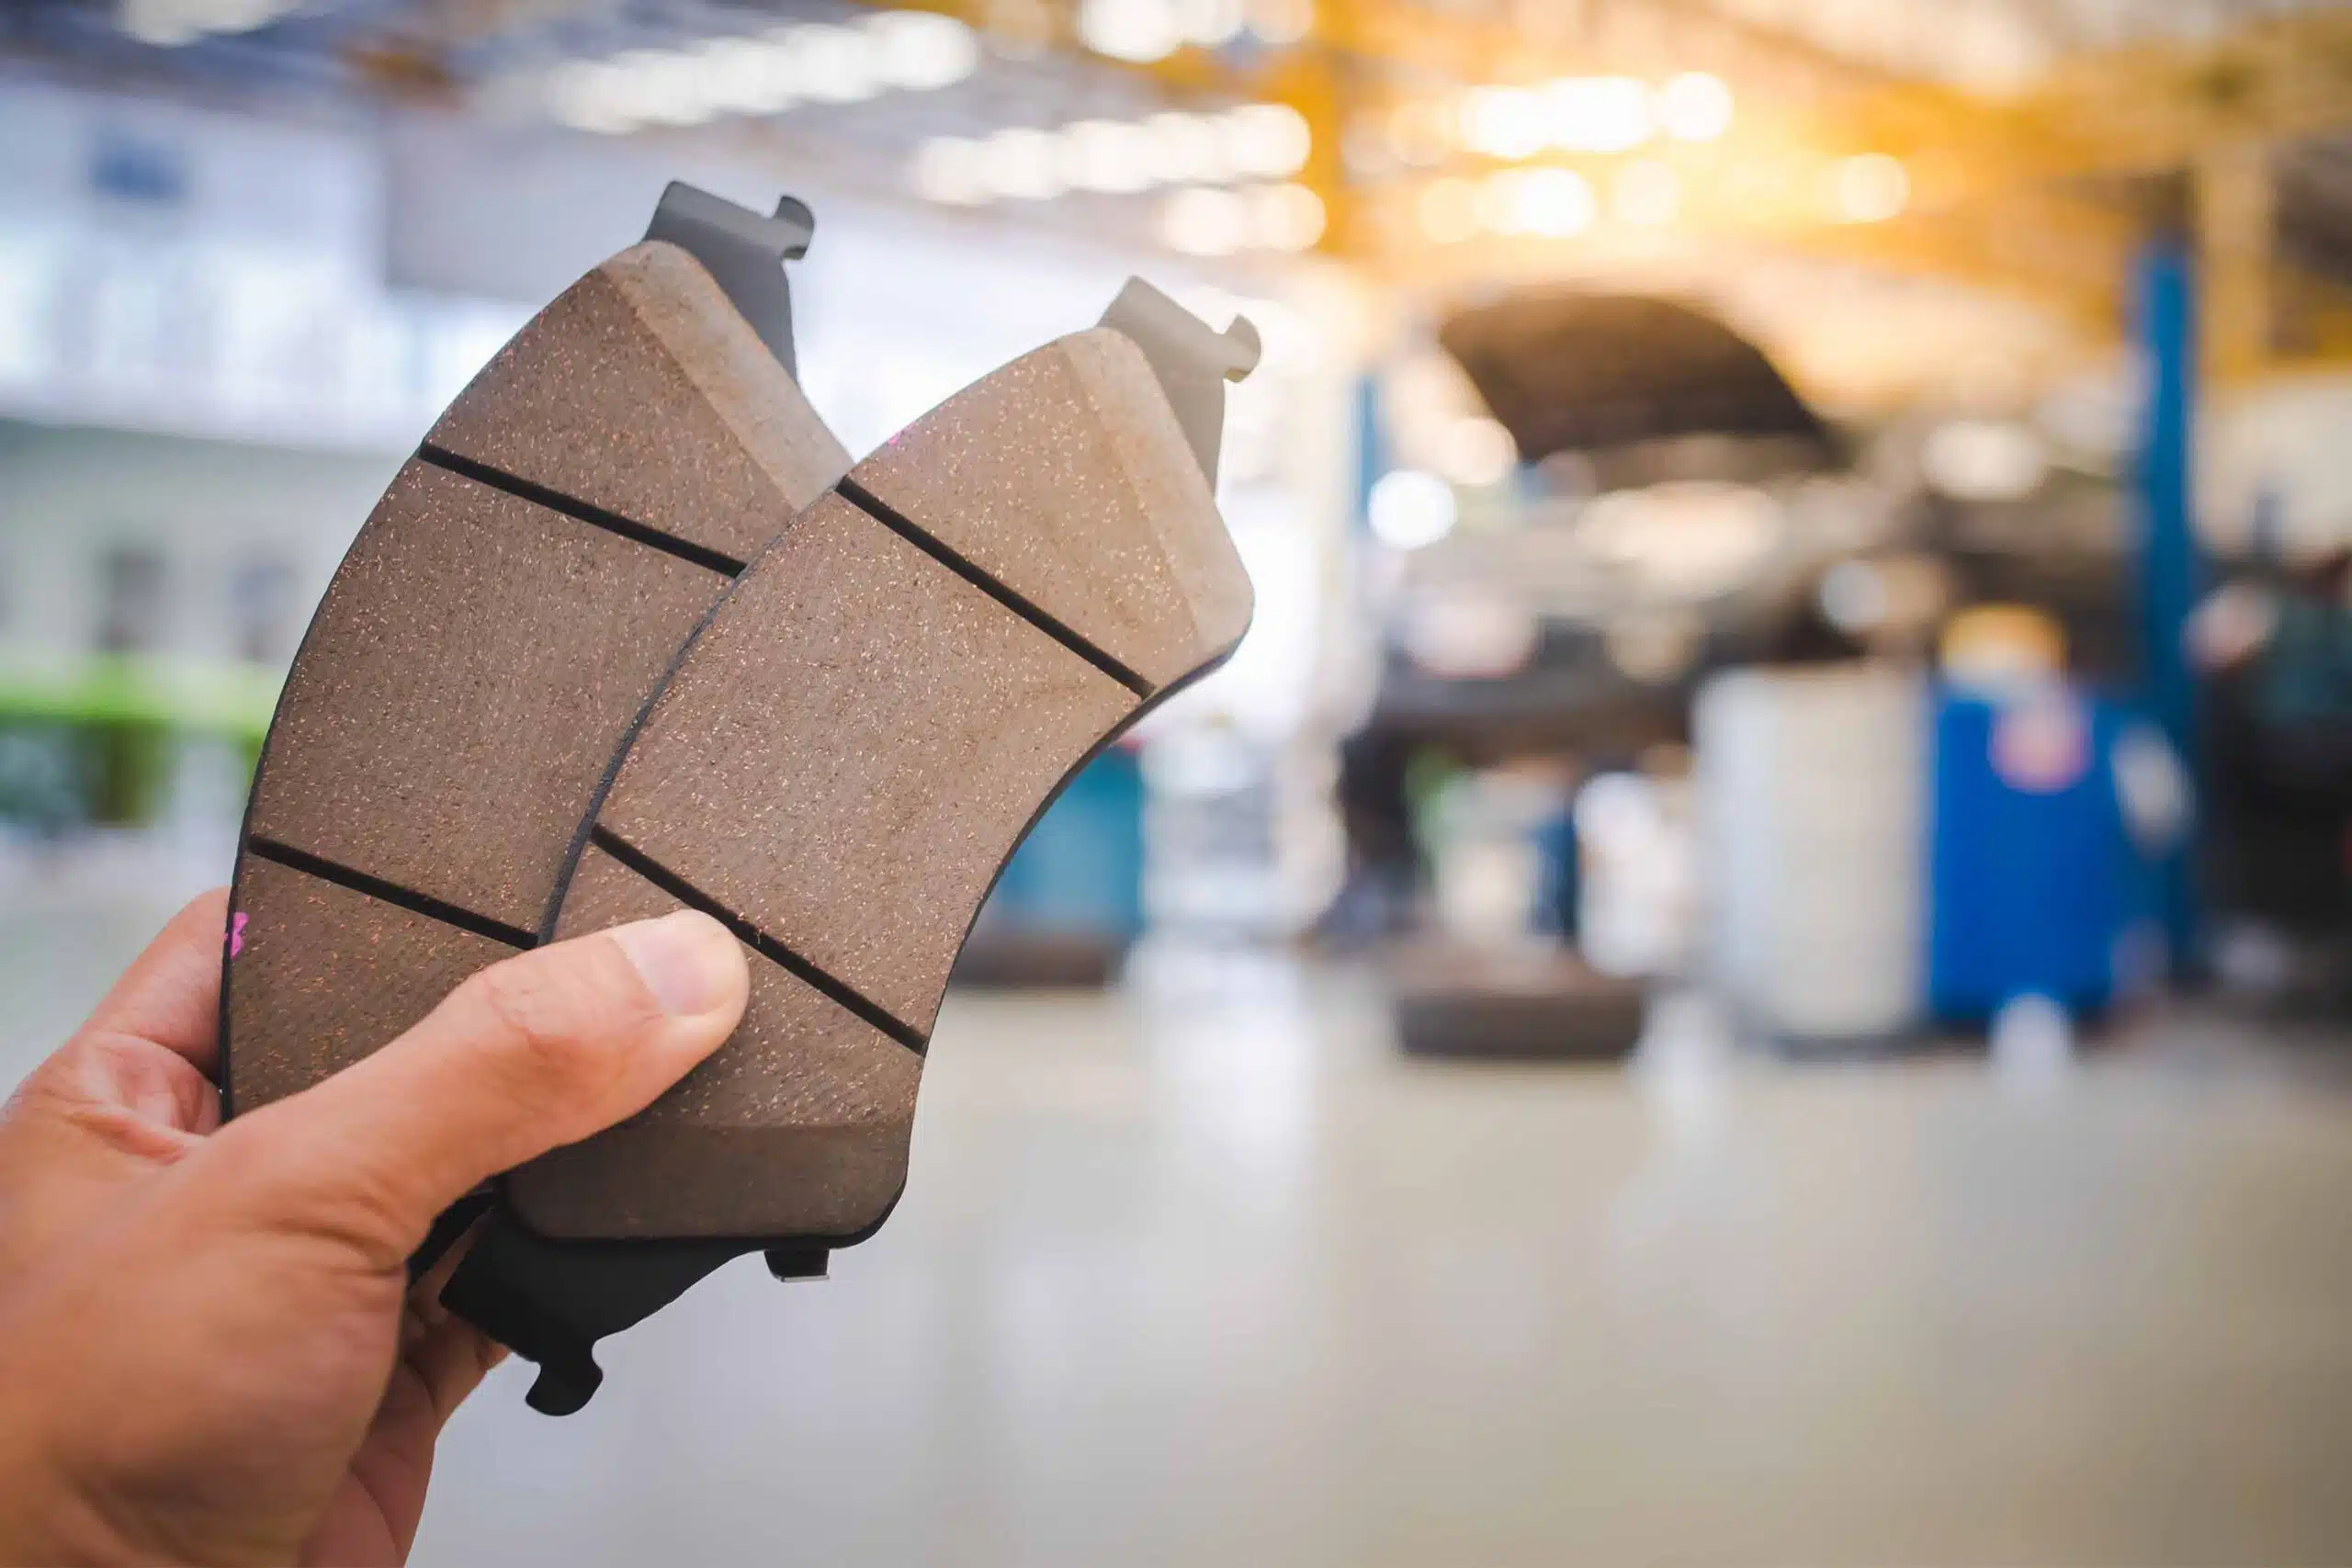
Step 4: Swapping the Pads
-
Slide the old brake pads out. Pay attention to how the hardware and clips are positioned so you can replicate it with the new ones.
-
Note which pad has the "squealer" indicator stick (the little metal tab that makes noise when your pads are running low). Usually, this goes on the outside.
-
Apply a light touch of brake lubricant to the ends of the pads and the outer back plate—just make sure you keep grease off the friction surfaces!
-
Give everything a quick spray of brake cleaner if it's looking dusty, then slide your fresh new brake pads into place.
Step 5: Resetting and Reassembly
-
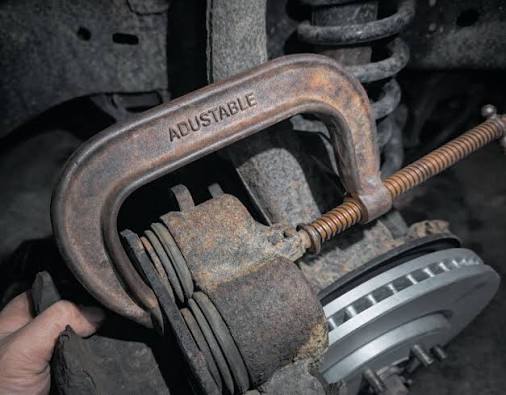
Make some room: Because your old pads were worn down, your caliper cylinder expanded. To fit it over the thicker, brand-new pads, you’ll need to push that cylinder back in. Place an old brake pad against the cylinder and use your brake depressor tool (or alternative method) to twist or press it back flush.
-
Mount the caliper: Place the caliper back over the new pads, screw your two bolts back in by hand, and snug them up securely with your ratchet. Don't over-tighten them, but make sure they're firm.
-
Put the wheel back on: Remove your safety tire from under the car, bolt the wheel back on, and lower the car back to the ground.
Step 6: The Final Check
Pat yourself on the back; you just did the hardest part! Now, simply repeat the process on the other side.
Before you put the car in drive, hop in the driver's seat and pump the brake pedal a few times while parked. This pushes the brake fluid back and resets the pressure so your brakes respond normally the second you start rolling. Take it for a gentle test drive around the neighborhood, and enjoy the smooth, quiet stop!